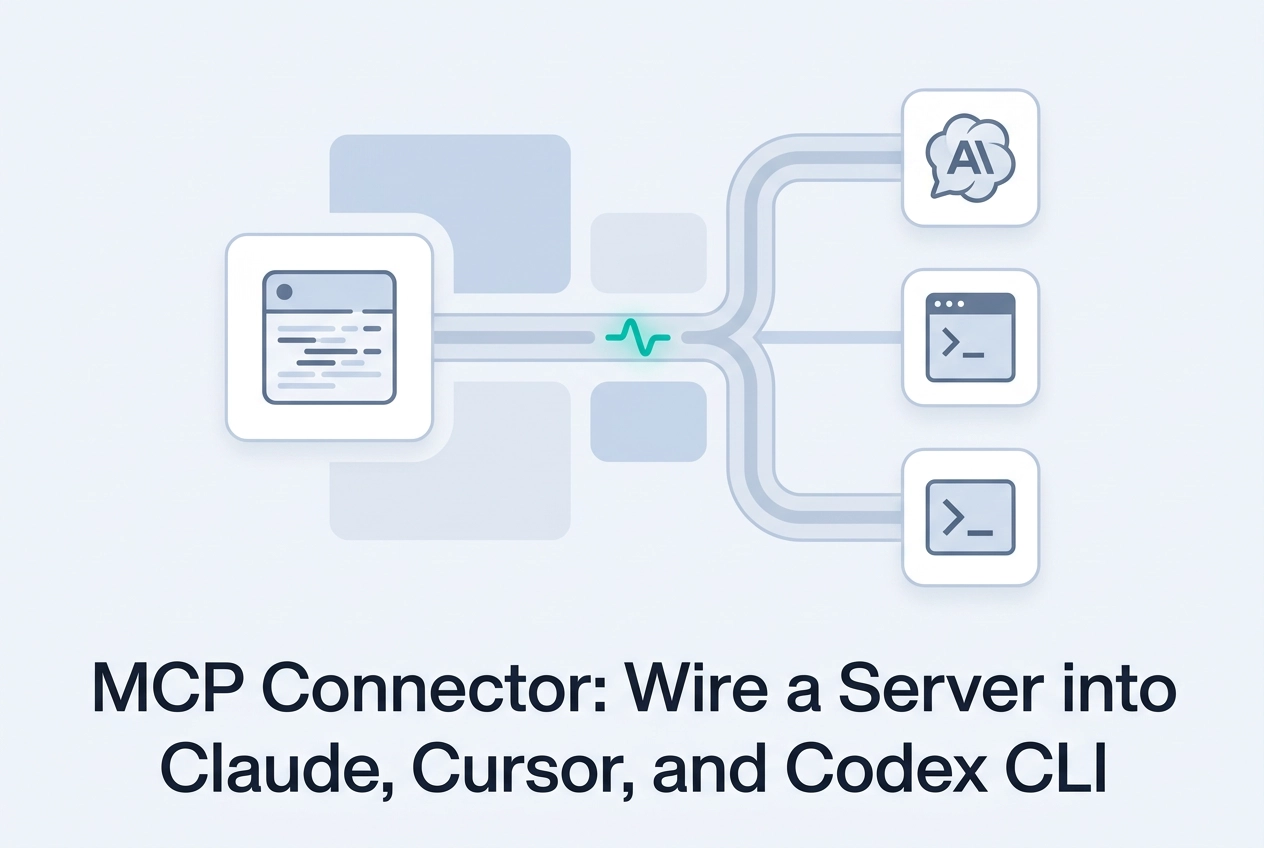
Most developers hit the same wall: a powerful MCP server running locally, and no clear path to wiring it into the tools they actually use every day. The MCP connector layer is exactly what bridges that gap, and right now it matters more than ever. Cursor has promoted MCP servers to first-class marketplace extensions, GitHub is positioning itself as a formal MCP registry, and community projects are proving that a single server can run cleanly across Claude Desktop, Cursor, and Codex CLI simultaneously.
This tutorial walks you through the full connection process across all three clients. You will configure Claude Desktop step by step, set up Cursor using both the marketplace and command-line approaches, and wire in Codex CLI for terminal-native workflows. Along the way, you will get a working endpoint you can paste in immediately, a plain-English breakdown of how HTTP 402 payment flows enable premium tool access, and a look at MCPize audit grades for monitoring endpoint health. By the end, you will have a production-ready integration and a clear path toward distributing your own servers through the emerging MCP ecosystem.
What an MCP Connector Actually Is
An MCP connector is the pairing of a client-side config entry and a server-side HTTP endpoint that exposes tools over the Model Context Protocol. The config tells the client where to connect; the endpoint tells the client what tools exist.
The client, whether Claude Desktop, Cursor, Codex CLI, or any MCP-compatible host, reads that config on startup, opens a connection to the endpoint, and runs a tool discovery handshake. No prior knowledge of the available tools is required. The server returns a tools/list payload and the client surfaces those tools at runtime.
Transport is either Streamable HTTP or SSE. Both are stateless enough to work across network boundaries without special firewall rules or persistent sockets.
MCP has moved from experimental protocol to production infrastructure. GitHub now maintains a formal MCP Registry as a discovery and standardization layer. Cursor ships MCP servers as first-class marketplace extensions alongside native plugins.
A single endpoint URL works across Cursor, Claude, and other compatible clients without modification. Portability is a property of the spec, not of any one client.
For a closer look at what the protocol is doing inside an agent stack, see What MCP Is Actually Doing in This Stack.
What You Need Before You Start
Before you wire any connector, confirm you have three things in place.
Client. Install one of the following:
Claude Desktop (macOS or Windows) from anthropic.com
Cursor
Codex CLI via
npm install -g @openai/codex
Endpoint URL. You need a Streamable HTTP address in this format:
https://mcp.moltlinestudio.com/<server>
Substitute <server> with any server slug. That is the entire connector URL; no path suffix, no query parameters.
Access level. Moltline's hosted servers expose 110 free tools with no account, no API key, and no signup. Paste the URL; the tools are available immediately. The remaining 50 tools require a $19/month All-Access licence, payable in cryptocurrency. If your agent calls a premium tool without a licence, the endpoint returns an HTTP 402 challenge that an agent with an on-chain wallet can settle autonomously. That flow is covered in a later step on Claude Code and web integration.
Optional health check. Before adding any endpoint to your client config, run it through the free MCPize agent-readiness checker at moltlinestudio.com. It grades the endpoint and surfaces schema or reliability issues before they become debugging sessions.
Step-by-Step: Claude Desktop
Open the config file for your platform, Anthropic's setup guide lists the exact paths, then add a mcpServers entry with a url key pointing to the endpoint (see Anthropic's official Claude Desktop docs for the current path on each platform):
macOS:
~/Library/Application Support/Claude/claude_desktop_config.jsonWindows:
%APPDATA%\Claude\claude_desktop_config.json
{
 "mcpServers": {
 "moltline": {
 "url": "https://mcp.moltlinestudio.com/brave-search"
 }
 }
}
Save the file, then restart Claude Desktop. The client calls the endpoint on startup, runs the MCP initialize handshake, and enumerates the tools automatically. For free-tier servers, no authentication step is required; the tools appear in the tool picker immediately.
To verify, ask Claude to list available tools or invoke one by name. A failed connection surfaces as a transport error in the UI, not a silent timeout, so misconfigured JSON is easy to catch.
To add more servers, append them under separate keys in the same mcpServers block:
{
 "mcpServers": {
 "brave-search": { "url": "https://mcp.moltlinestudio.com/brave-search" },
 "another-server": { "url": "https://mcp.moltlinestudio.com/another-server" }
 }
}
Multiple servers can share one config block. For Claude Code users, see adding an MCP server to Claude Code with a Streamable HTTP endpoint for the equivalent setup.
Step-by-Step: Cursor
Cursor offers two paths. The Cursor marketplace lists vetted servers you can install with a click. For a direct HTTP endpoint like mcp.moltlinestudio.com, use the settings path instead.
In recent Cursor builds, open Settings > Features > MCP (exact menu label may vary by version), click Add Server, and paste the URL; Cursor writes it to a local mcp.json.
Or edit the file directly (path shown in Cursor's own documentation):
{
 "mcpServers": {
 "moltline": {
 "url": "https://mcp.moltlinestudio.com/brave-search"
 }
 }
}
The schema is identical to Claude Desktop's mcpServers block, so the same config structure moves between clients. Browse the full server catalog to find the slug you want before editing the file.
The direct-config path bypasses marketplace vendor vetting. That matters when you are running a private or self-hosted server that is not listed in any registry. You control the endpoint; Cursor does not gate it.
Step-by-Step: Codex CLI
Codex CLI is headless by design, which makes it the right client for scripted or scheduled agent runs where no GUI is available.
Config is typically at ~/.codex/config.yaml under an mcp_servers key, confirm the exact path and key name in the current Codex CLI README at github.com/openai/codex:
mcp_servers:
 - name: moltline
 url: https://mcp.moltlinestudio.com/brave-search
Before adding the config, confirm your installed version supports MCP:
codex --help
If codex --help shows no MCP flags, update to the latest release with:
npm install -g @openai/codex
Once the config is in place, invoke a tool directly in a prompt to confirm the connection is live:
codex 'use moltline to search for X'
If the config is valid, that prompt routes through the connector and returns tool output. A misconfigured url field or missing mcp_servers key produces a clear error rather than a silent failure.
For a faster setup walkthrough, see Connecting an MCP Tools Server in Under Two Minutes.
It fits naturally into CI pipelines and cron jobs where Claude Desktop or Cursor would be impractical, and the same endpoint URL works here without modification.
A Working Endpoint You Can Paste in Now
All three client configs above accept the same endpoint format. Here is one you can use right now:
https://mcp.moltlinestudio.com/brave-search
Moltline Studio hosts 22 MCP servers exposing 132 tools at mcp.moltlinestudio.com. Swap the slug for any server you want; the pattern is always mcp.moltlinestudio.com/<server-slug>. All endpoints are listed with their slugs at mcp.moltlinestudio.com if you want to browse before picking one.
Paste the URL into any of the three config blocks covered above. The server responds to the MCP initialize handshake immediately and returns a tools/list payload. There is no redirect, no OAuth consent screen, and no token exchange.
That behavior makes this a useful config validator. If the free endpoint connects and enumerates tools, your JSON or YAML syntax is correct and the transport layer is open. If it fails, the error is in your config, not the server.
The 50 premium tools behind the All-Access licence behave differently. Call one without a valid licence token and the server returns an HTTP 402 challenge rather than a tool result. The next section covers how that payment flow works and how an agent can settle it autonomously.
How the HTTP 402 Payment Flow Works for Premium Tools
The 402 challenge is what the 50 premium tools return when called without a valid licence token.
The server returns an HTTP 402 status; the response body carries a machine-readable price and payment address per the x402 pattern (see Coinbase x402 docs for the payload schema). An agent with an on-chain wallet can read the 402 challenge, settle the charge, and retry the original request with a payment receipt in the header, with no human intervention required. For a deeper look at how this fits into agent architecture, see The x402 Pattern: When an Agent Needs a Premium Tool.
This differs from OAuth-based flows that require a consent screen and redirect callback, x402 is purely HTTP-native.
Inspect the live challenge yourself:
curl -I https://mcp.moltlinestudio.com/api
The response headers show the 402 status and payment metadata without calling any tool.
If on-chain settlement is not what you need, the $19/month All-Access licence token bypasses the 402 gate entirely. Pay in cryptocurrency at moltlinestudio.com, then include the token in your client config. The same endpoint serves both paths; the server checks for a valid token first and falls through to the 402 challenge only when none is present.
Checking Endpoint Health with MCPize Audit Grades
Before wiring any connector into a production agent, confirm the endpoint is healthy.
MCPize grades MCP server endpoints on a scale from A+ to B+. Every Moltline server has a public MCPize result URL you can open in a browser before adding it to your config. The public result page for each server explains what its grade covers; an A+ signals a fully production-ready schema and error profile, while a B+ may have minor gaps worth reviewing before shipping.
Use the free agent-readiness checker at moltlinestudio.com to run a health check on any endpoint, including servers you build yourself. It is not limited to Moltline-hosted servers.
A few things to check before finalizing a connector:
Schema completeness: does every tool declare required and optional parameters?
Error handling: does the server return structured errors, or raw stack traces?
Latency: does the endpoint respond within the bounds your agent's timeout allows?
For a broader checklist of what separates a production-ready server from a prototype, see What to Look for When Evaluating an MCP Server.
Next Steps: SKILL.md Skills, the Linter, and Agensi Distribution
Once a connector is healthy and wired, give your agent instructions for using it. A SKILL.md file defines when and how the agent should invoke each tool: which parameters to pass, what output to expect, and when to fall back. 138 open SKILL.md skills are available at GarphenGate/moltline-oss on GitHub. Clone or copy any of them as a starting point.
Before shipping a skill file, run it through the SKILL.md linter. It is free. Point it at a local file or a raw GitHub URL; it catches schema errors before they cause silent misfires in production.
If you are building an agent product that bundles multiple servers and skills into a distributable toolset, Agensi is the distribution layer for that. It handles the bundle rather than requiring you to submit each server individually to a centralized marketplace or registry.
One practical note on trust: every server, skill file, linter, and readiness checker here is built and maintained by one person. The GitHub repo reflects the actual production state, not a sanitized marketing summary. The open-source skills repo lets you read the prompt patterns directly. There is no black-box intermediary between what is on GitHub and what runs at mcp.moltlinestudio.com.
Conclusion
An MCP connector is a three-line config entry: a name, a transport type, and a URL pointing to a Streamable HTTP endpoint. The client handles discovery; the server handles tool enumeration. Nothing more is required at the protocol level. That same URL works in Claude Desktop, Cursor, and Codex CLI without modification.
Paste a free endpoint, confirm config syntax is valid, then check the MCPize grade and add a SKILL.md file from GarphenGate/moltline-oss before putting any connector into production.